Thursday, 20 February 2020

How to Learn Fashion Designing at Home!

fashion-desi9391508234894.jpgHow to Learn Fashion Designing at Home
Millions of people all over the world share the same dream of breaking into the fashion industry. Unfortunately, most of these millions simply cannot commit to full-time education or training. In turn, a whole world of talent, passion, and enthusiasm goes to waste.
Contrary to popular belief, however, it is perfectly possible to begin building a successful fashion career at home. It’s simply a case of using your own time to build the skills, knowledge, and confidence to go pro.
Here’s how to learn fashion designing at home and take those first important steps towards an incredible life-long career:
1. Study Fashion Design
First up, it’s important to ensure you understand the mechanics and specifics of the fashion industry in as much detail as possible. The deeper your understanding of the industry, the better your chances of becoming a part of it. If you’re unable to commit to more formal educations programs, an accredited online fashion design course could be a good place to start.  
2. Develop Your Skills
Creativity and vision are of no real value without the practical skills to bring them to life. Whatever your current capabilities with a needle, sketchbook or dressmaker’s dummy, there’s always room for improvement. Use your time to continually hone, refine and develop your practical design skills to a more professional level.
3. Focus Your Efforts
In terms of how to learn fashion designing at home with a future career in mind, the key lies in focusing your efforts accordingly. You need to pinpoint the area of fashion design that appeals to you most and suits your vision/aesthetic. It’s impossible to get ahead if you spread yourself and your talents too thinly. Decide on the area of fashion you’d like to focus on primary and do precisely that.
4. Find Your USP
Likewise, you’re going to need to establish a unique selling point (USP) for your fashion brand. What is it that makes you stand out from other fashion designers? What is it about your designs that make them unique? How are you going to differentiate yourself from rival designers? Isolate your USP and make every effort to emphasize it.
5. Build Your Brand
You might not be a professional fashion designer yet, but you still need to act like one. Which means establishing and building your own personal fashion brand. Launch a website, get yourself active on social media and make your voice heard. And of course, the value of a solid online portfolio of your work speaks for itself. The stronger your online presence, the more likely you are to be taken seriously as a professional fashion designer.
6. Network Constantly
Getting that all-important big break usually comes down to who you know, rather than what you know. If you get to know the right people in the right places, hitting the big time becomes a much more realistic possibility. Which is why you need to make every effort to network like crazy on a constant basis. Attend events, reach out to influential individuals and nurture strong professional relationships.
7. Be Prepared to Start Small
When starting out in fashion design, the only thing that matters is getting your work seen, worn and recognized. Fame and fortune, by contrast, come further down the line. As such, you need to be willing to start out as small and humble as necessary to get yourself on the right track. Volunteer with established fashion businesses, give clothes away if it’s likely to result in positive exposure, work hard and accept that you might get nothing in return. In short – be realistic with your expectations.
8. Be Unwilling to Quit
Last but not least, it’s largely unheard of for anyone to crack the fashion industry and become a global success story overnight. Chances are, it just isn’t going to happen. Becoming a successful fashion designer takes time, patience and the ability to overcome various challenges along the way. It isn’t going to be an easy ride, but the rewards at the end of the journey make the effort more than worthwhile.
For more information on any of our online courses and free fashion designing courses, get in touch with the Brentwood Open Learning College admissions team today.

Tuesday, 18 February 2020

How to Do Stage Makeup on Kids!

It can be difficult to apply makeup to a child's face. However, if your child will be performing on stage, they need to wear makeup or they'll be hard to see from a distance! This is true for children of all skin tones. Fortunately, there are several tricks that help make the process much easier. With practice and a little bit of patience, your child will be stealing the stage in no time.

1
Applying Makeup on Their Skin

  1. 1
    Prepare the child's skin for makeup. If you don't apply makeup to your child's face they will look ghostly and washed out on stage. To make sure the makeup doesn't negatively affect your child's skin you need to clean their face before applying makeup. Use a gentle face cleanser and warm water to wash their face.
    • After washing, apply a light facial lotion for sensitive skin. Wait to apply the makeup for at least thirty minutes to make sure the moisturizer completely soaks in.
    • If your child has dry skin, use a cotton ball to apply a thin layer alcohol-free toner before doing their makeup.[1]
  2. 2
    Apply the foundation. Foundation is a kind of makeup for your skin that mimics your skin tone. Choose a shade that is one or two shades darker than your child's face even if they already have a very dark skin tone. Otherwise, they may look washed-out on stage. Use a compressed pancake foundation instead of liquid foundation as it won't streak or rub off if your child gets sweaty under the stage lights. Apply the pancake foundation with a sponge or soft brush, starting with the cheeks and blending outward.[2]
    • Make sure to blend the makeup into their neck and hairline. Otherwise, your child may look like they're wearing a mask.
    • You don't need to buy an expensive makeup brand. Any brand that is made for sensitive skin will work fine.
  3. 3
    Apply the blush. Blush will help give your child's face a healthy glow on stage. Choose a shade that's slightly darker than your child's normal cheek color. Stay away from dark purples and bright oranges; choose a natural shade instead. Ask your child to smile and apply the blush to the apples of their cheeks. Blend the blush across their cheekbones and towards their ears.
    • Use a large soft brush to apply the blush.
    • The blush will look slightly unnatural if you choose the correct shade. However, the bright colors and contrast will look great on stage. Remember, people will be viewing your child from a distance.
  4. 4
    Apply translucent powder. Translucent powder is a loose, clear powder that helps makeup stay on your face. Some translucent powders come with “illuminators,” causing the makeup to look shiny when you put it on. Avoid powders that have illuminators as they will make your child shine like a beacon onstage. When applying the powder, start from the cheeks and gently brush the powder all over the rest of the face.
    • Apply the powder in a thin layer. If it's too thick your child's skin will look strange and powdery.
    • Use a large, soft brush to apply the powder.

Part2
Highlighting Their Features

  1. 1
    Apply the eyeshadow. Choose a light gold or peach eyeshadow that has a bit of shimmer. Apply this shade over the whole eyelid with a small makeup brush. Blend the color up towards the eyebrows. Next, choose a darker, natural color such as a chocolate brown. Apply a line of darker eyeshadow to the crease of the eyelid. Using a clean eyeshadow brush, blend the dark line of eyeshadow into the lighter eyeshadow.[3]
    • When blending with a brush use light, gentle strokes. If you press too hard you may scrub away the eyeshadow.
    • If your child has blond or light brown eyebrows, use a light brown eyeshadow to fill them in.
  2. 2
    Apply the eyeliner. Use a black pencil to line the top and bottom of your child's eye. To line the top lid first ask the child to close their eyes. Gently pull up on the eyebrow and apply the makeup in small strokes, lining the lash line of the eyelid. To line the lower lid, ask the child to look up. Gently pull down on the cheek to put on the lower line.
    • Be patient and careful while applying the makeup; if you get it in their eyes, they might start watering and mess up the makeup.
    • Have younger children lean against a wall or lie on the floor to reduce fidgeting.
  3. 3
    Apply the mascara. Use black mascara that's not waterproof. Waterproof mascara is very difficult to clean off of a child's face. Gently pull up on the eyebrow and ask the child to look down. Apply a thin coat of mascara to the ends of their eyelashes. Let the mascara dry before applying some to the lower lashes. When doing lower lashes, ask the child to look up and gently pull down on their cheek.[4]
    • Be patient. If you move too quickly or don't let the child blink when they want to they might become uncooperative.
    • It may help to lean the child against a wall to reduce fidgeting.
  4. 4
    Apply the lip color. Choose a shade of lipstick and lip liner that's a few shades darker than their natural lip tone. First, line their lips with lip liner by carefully drawing a thin line around the edges of their lips. Next, apply lipstick. Ask the child to open their mouth in a loose “O” shape and carefully dab the lipstick onto their lips. Blend it all over their lips using your finger.
    • Lip liner is optional, but it helps keep the lipstick in place.
    • If the lipstick is too thick dab some of it off with a tissue. This is called “blotting.”

Part3
Removing the Makeup

  1. 1
    Use baby wipes to fix mistakes. If you accidentally smear the child's makeup while you're applying it, simply wipe the affected area with a baby wipe. Wait for the area to dry and reapply the makeup completely. For example, if you smear mascara onto your child's cheek, it's not enough to wipe away the mascara. You must also reapply the foundation and the blush, finishing with translucent powder.
    • This technique is best for quickly removing small mistakes. The longer the makeup sits on the face, the harder it will be to get off with baby wipes.
  2. 2
    Use a mild cleanser. Choose a mild facial cleanser that is formulated for sensitive skin. Gently splash the child's face with water while standing over a sink. Put a pea-sized amount of the facial cleanser in your hand. Rub your hands together to create a thick lather and gently rub the lather on the child's skin. Avoid the eye areas. After a few minutes wash the soap off with warm water and pat their skin dry.[5]
    • Use gentle makeup wipes to remove eye makeup. To do so, ask the child to close their eyes and wipe the makeup off in a downward motion. Be careful not to get makeup in their eyes.
    • If you're concerned about irritated skin, apply a gentle, non-scented lotion after washing their face.
  3. 3
    Use coconut oil as a makeup remover. If your child has very sensitive skin you may not want to use a cleanser at all. If this is the case, use coconut oil instead. First, rub a teaspoon of coconut oil all over your child's face, avoiding the eyes. Next, use a warm damp washcloth to wipe away the makeup. When wiping away the eye makeup, ask the child to close their eyes and gently wipe the makeup away in a downward motion. [6]
    • If there is a lot of makeup you may need more than one teaspoon of coconut oil.
    • Wrap a towel around the child's shoulders to avoid dripping coconut oil on their clothing.

Saturday, 8 February 2020

The Best (And Worst) Seafood To Eat When In New Zealand!


Make Good Choices!

Getting some classic New Zealand fish and chips and don’t know what to try? Stocking up on tuna cans to get you through a hike or treating yourself to some local cuisine? Here’s a guide to help you decide while making some eco-friendly choices on the best and worst seafood to eat when in New Zealand.In a country where fish and chips area Kiwi favorite, you know that you have to try the seafood when backpacking in New Zealand. So we’ve put together the best fish to try, not only for its taste but because they are the most sustainable. Choosing environmentally-friendly and sustainable seafood encourages New Zealand’s fishing and aquaculture industries to use better fishing practices. In turn, your choices will restore the health of the oceans, lakes, and rivers. Winner! This is also a guide if you are recreationally fishing in New Zealand, so you know what’s good to eat. Remember to stick to fishing laws, which you can read more about in our fishing in the New Zealand guide.

Quick Ways To Check If You Are Buying Environmentally-Friendly Seafood

  • If they can’t tell you what fish species it is, don’t buy it
  • Eat the best seafood choices in New Zealand. (See our list below and the full list at Best Fish Guide)
  • Avoid eating the least sustainable seafood in New Zealand. (Again, see list below)
  • Check the origins of the seafood. Is it from a sustainable area? The info is mentioned below
  • Avoid buying seafood caught using damaging methods like bottom trawls, dredges and gill nets
  • Note that land-based farming tends to have a lower impact than sea farming.
And when out on the water getting seafood yourself, take a look at What You Need to Know About Fishing in New Zealand for making good choices.
NZPocketGuide.com© Naotake Murayama on Flickr

The Best Seafood To Eatin New Zealand

Here’s what is considered the best seafood to eat in New Zealand when looking to make sustainable food choices.Green-lipped mussels The native species are the backbone of the New Zealand aquaculture industry so you know these are definitely a sustainable choice to eat no matter where in New Zealand they were farmed. They are said to have many health benefits, especially for inflammatory diseases, asthma and stomach ailments. Pacific oysters The northern South Island is the best place to try Pacific oysters. Paua Try paua in the northern North Island for the best sustainable choice. Not only do they make a delicious New Zealand delicacy, but their shells have been used in Maori art for centuries. Albacore tuna This is a highly versatile tuna so try it in your sandwiches or as a main course treat. Cockles Known in Maori as Changi, cockles are a traditional New Zealand food. They are full of goodness like vitamin A, calcium, iron, zinc, and potassium, but they are small so you’ll want to eat about 30 before feeling full. Kahawai is a favorite to catch for anglers in New Zealand. Eat the day after the catch for the best texture results. Blue cod Going down to Bluff or Stewart Island in the very south of the South Island? Don’t order fish and chips without blue cod! Nevertheless, the species is sustainable all over New Zealand. [Update: blue cod is no longer sustainable in the Marlborough region].Pilchards Ok, so many people put this species under the category of fish bait. It’s not the prettiest dish but it still tastes pretty good. Better yet, it is one of the most sustainable choices in New Zealand. Anchovies You either love them or hate them. Anchovies are particularly used in Asian dishes, to which New Zealand has a lot of great Asian restaurants. Kina This is a messy one but a traditional treat in New Zealand. Kina is a sea urchin where you need to crack open the shell and scoop the roe out with a spoon. Yellow-eyed mullet Also known as herrings, the yellow-eyed mullet is only found in New Zealand and southern Australia. It goes great on the barbecue, and all the more rewarding if you manage to catch one yourself. Rock lobster (crayfish) One of New Zealand’s most famous dishes! A full crayfish can be pretty expensive (around NZ$80), but if you are a keen spearfisherman, get in the water and get one yourself. Kaikoura in the South Island has claimed to be the best place in New Zealand for crayfish, which is marked with the town’s giant crayfish sculpture. Salmon Mmm, salmon. The best place to try salmon in New Zealand is the freshwater salmon from the central South Island. Skipjack tuna This is a common tuna species in New Zealand’s tuna cans and highly sustainable.

NZPocketGuide.com© Brian Gratwicke on Flickr

The Worst Seafood To Eat In New Zealand

In terms of unsustainable food choices, here’s a list of some of the worst seafood to eat in New Zealand.Porbeagle shark Beingslow-growing withlow reproductive capacity makes the porbeagle shark a very poor seafood choice! Oreos You can eat as many of the cookies as your body can stand, but do avoid eating Oreos (deepwater dory). They live up to 150 years and grow slowly making them vulnerable to fishing pressure. Mako shark Don’t go eating a mako shark. Simple. Snapper As a common seafood choice all over the world, snapper might be surprising to see on this list. However, their slow-growing and life of up to 60 years make them vulnerable to overfishing. Alternative sustainable choices are trevally and kingfish. Southern bluefin tuna Avoid eating this endangered species of tuna. Rays bream There are concerns about how removing this species impacts the oceanic food web and how the fishing method is damaging to sharks, seabirds, turtles and fur seals. Arrow squid The fishing method of trawling is particularly damaging to endangered New Zealand sea lions, seals, seabirds and other fish species. Bottom trawling also impacts the seabed and its ecosystem. Blue shark Their slow growing and long life make fishing unsustainable, plus, they are caught in tuna longline fishing and mostly taken for their valuable fin while the rest of the sharks dumped at sea.

NEW ZEALAND'S MUST-EAT SEAFOOD!

Why not tempt your taste buds with the large variety of seafood on offer when you travel around New Zealand.

Crayfish

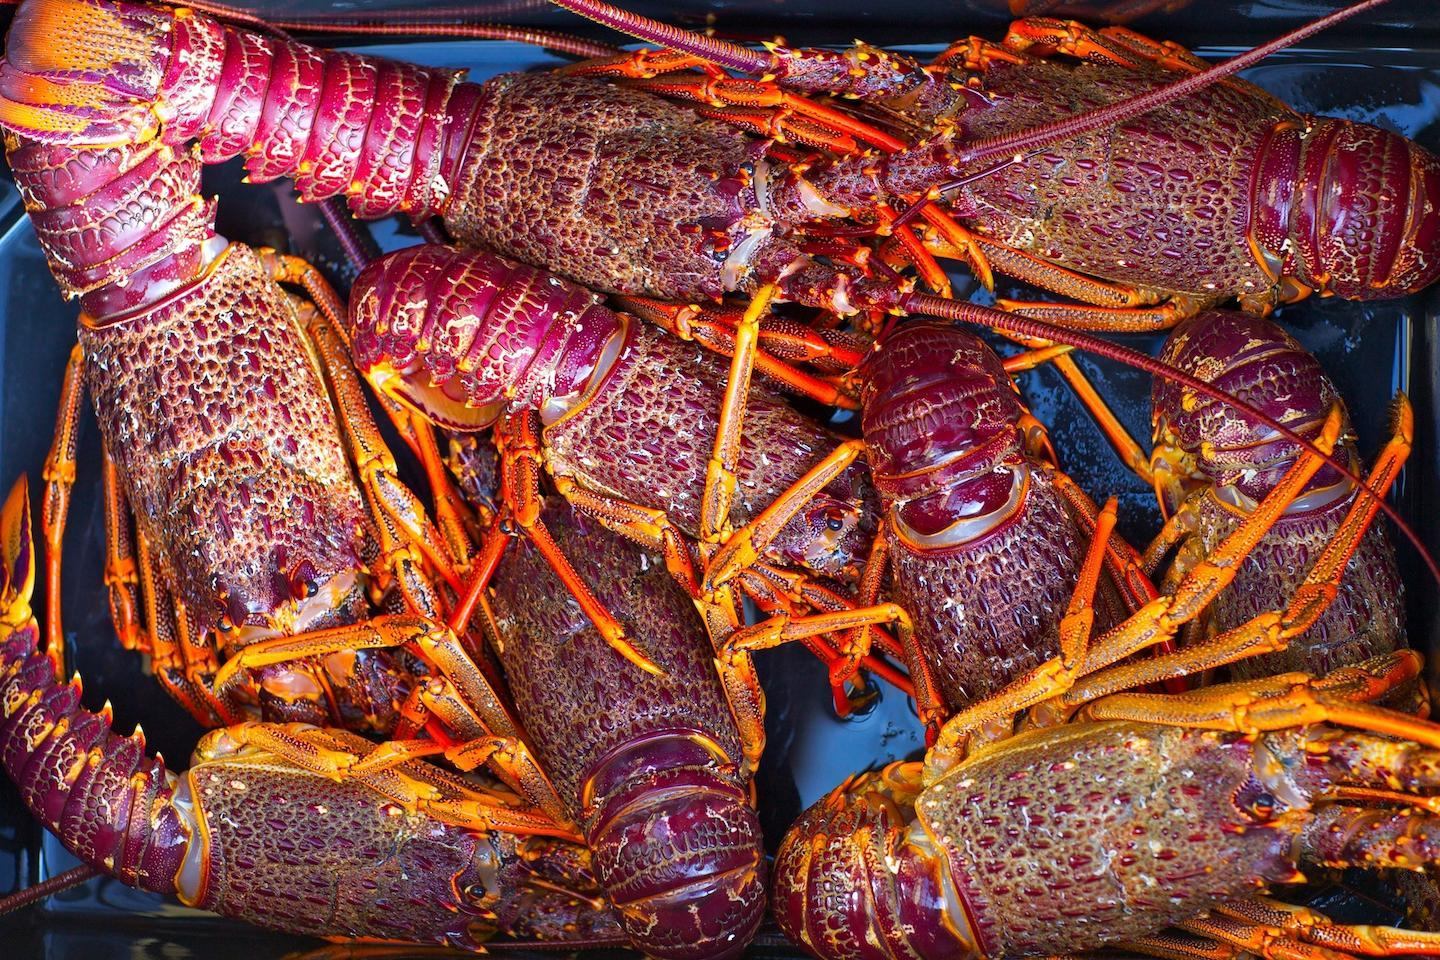
Kaikoura is the crayfish / lobster capital of New Zealand. To taste the freshest ‘catch of the day’, try the Kaikoura Seafood BBQ - a beachside shack that feeds hordes of hungry visitors to the nearby seal colony.
Crayfish
Christchurch - Canterbury
Crayfish, Christchurch - Canterbury
New Zealand crayfish is delicious and there is no better place to eat it than Kaikoura which means 'eat crayfish' in Māori

Whitebait

The largest volume of whitebait is found in the rivers of the South Island’s West Coast. If you’re travelling south from the glaciers on SH6, stop off at Curly Tree Whitebait Company to sample these highly sought after fish.
Whitebait
Whitebait, New Zealand
A classic New Zealand whitebait fritter.

Mt Cook Salmon

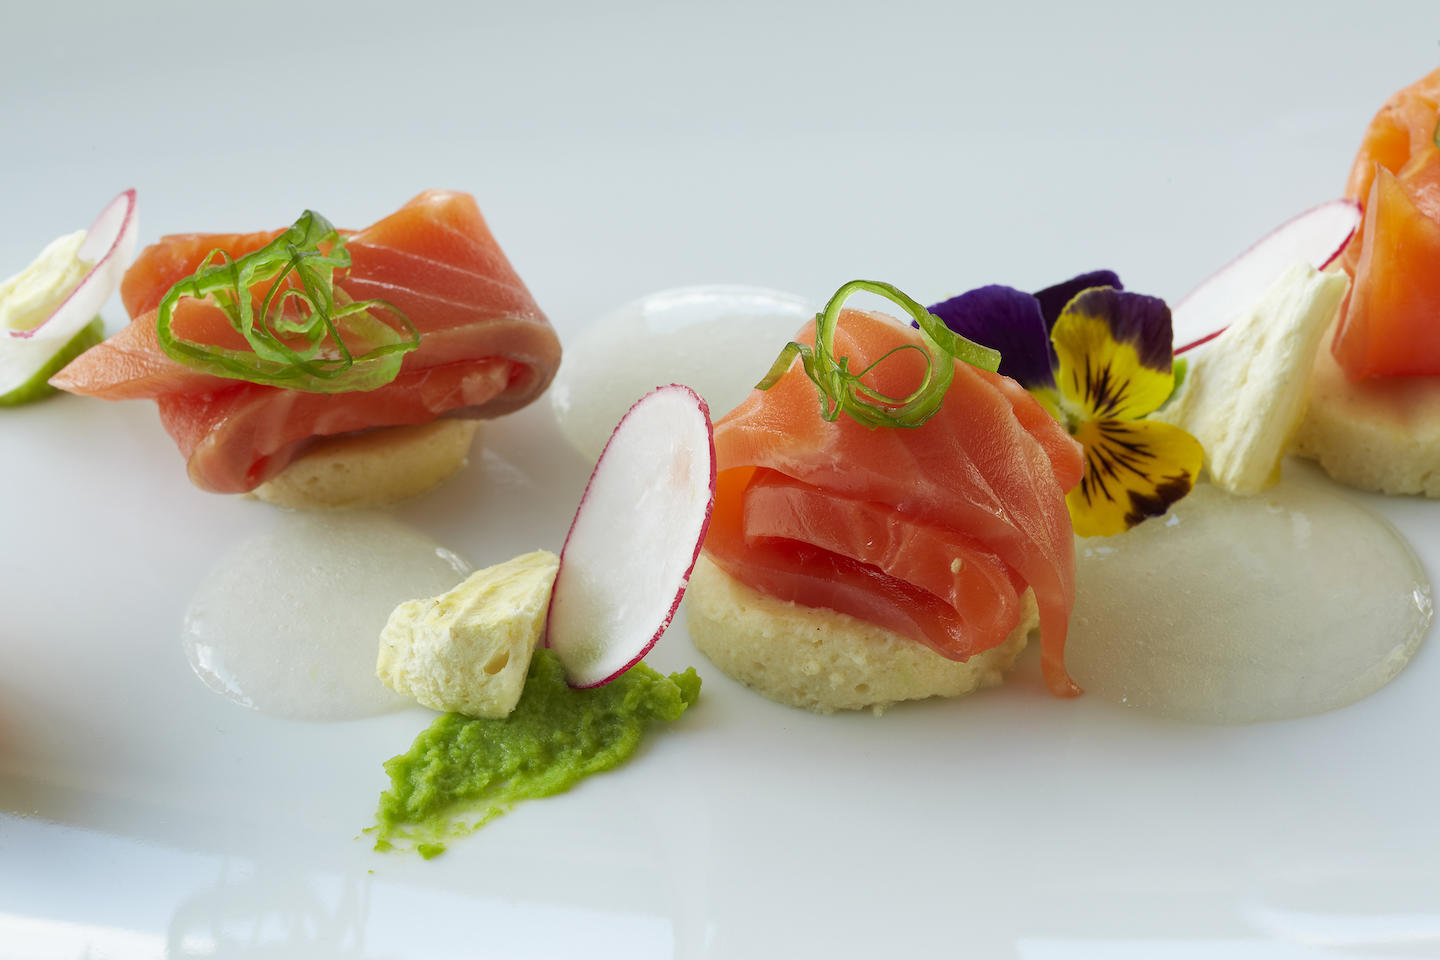
New Zealand accounts for over half of the world's production of king salmon. Of all salmon species, the king salmon offers the highest natural oil content of Omega-3s which benefit both heart and joint health. In Tekapo, Mt Cook Alpine Salmon, at 677m above sea level, is the highest salmon farm in the world.
Salmon
Salmon, New Zealand
Mt Cook Alpine Salmon is served as sashimi, grilled and smoked in many fine dining restaurants around New Zealand.
Green-lipped mussels
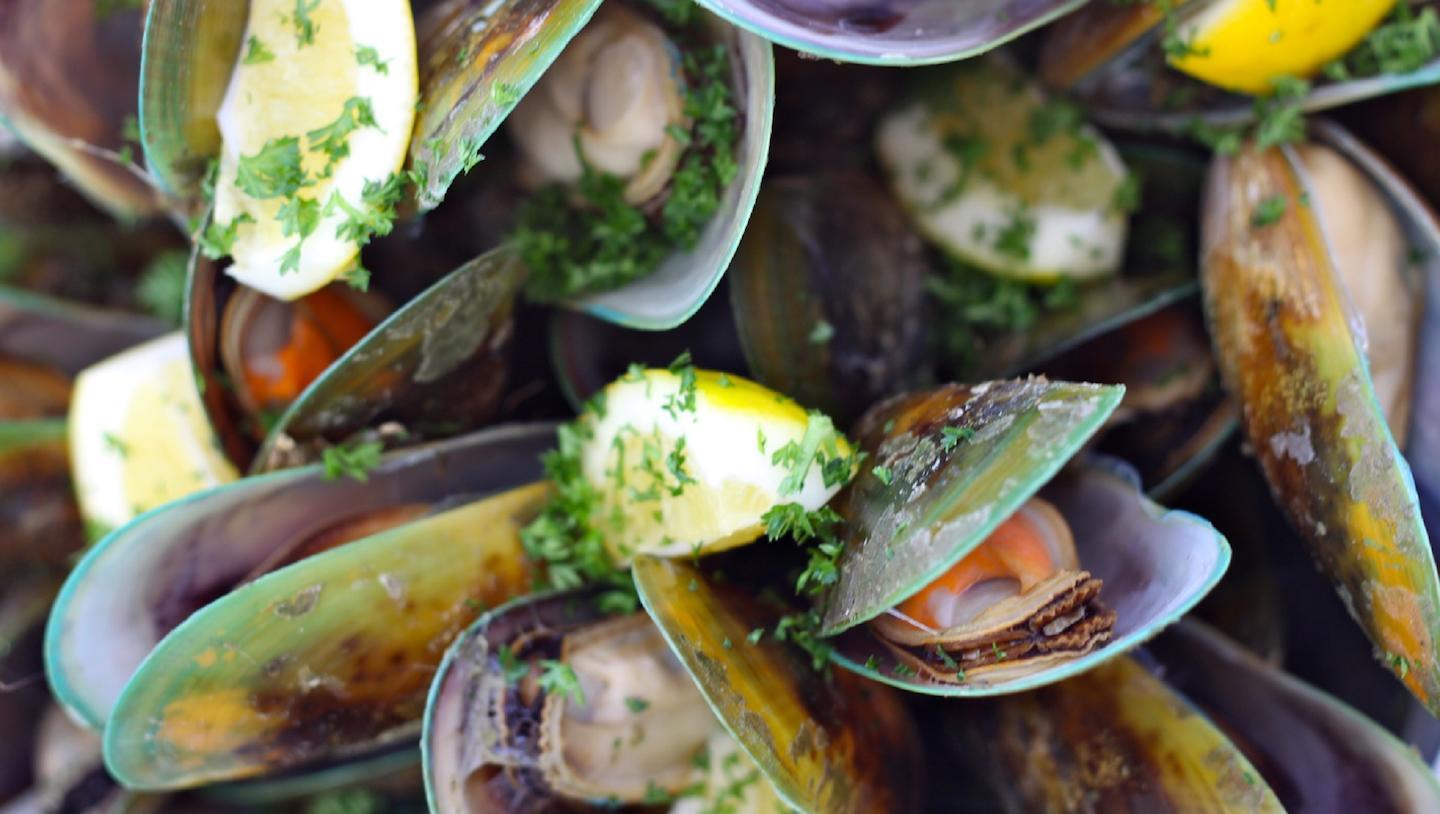
Green-lipped mussels are easily distinguished from other mussels by the dark green shell with a bright green lip that it is named for.  You can get these mussels pretty much anywhere in New Zealand all year around, but it’s best to have them at the source around Marlborough, where 80 percent of New Zealand's mussel production is based.
Mussels
Marlborough
Mussels, Marlborough
New Zealand Green Lipped Mussels

Pāua

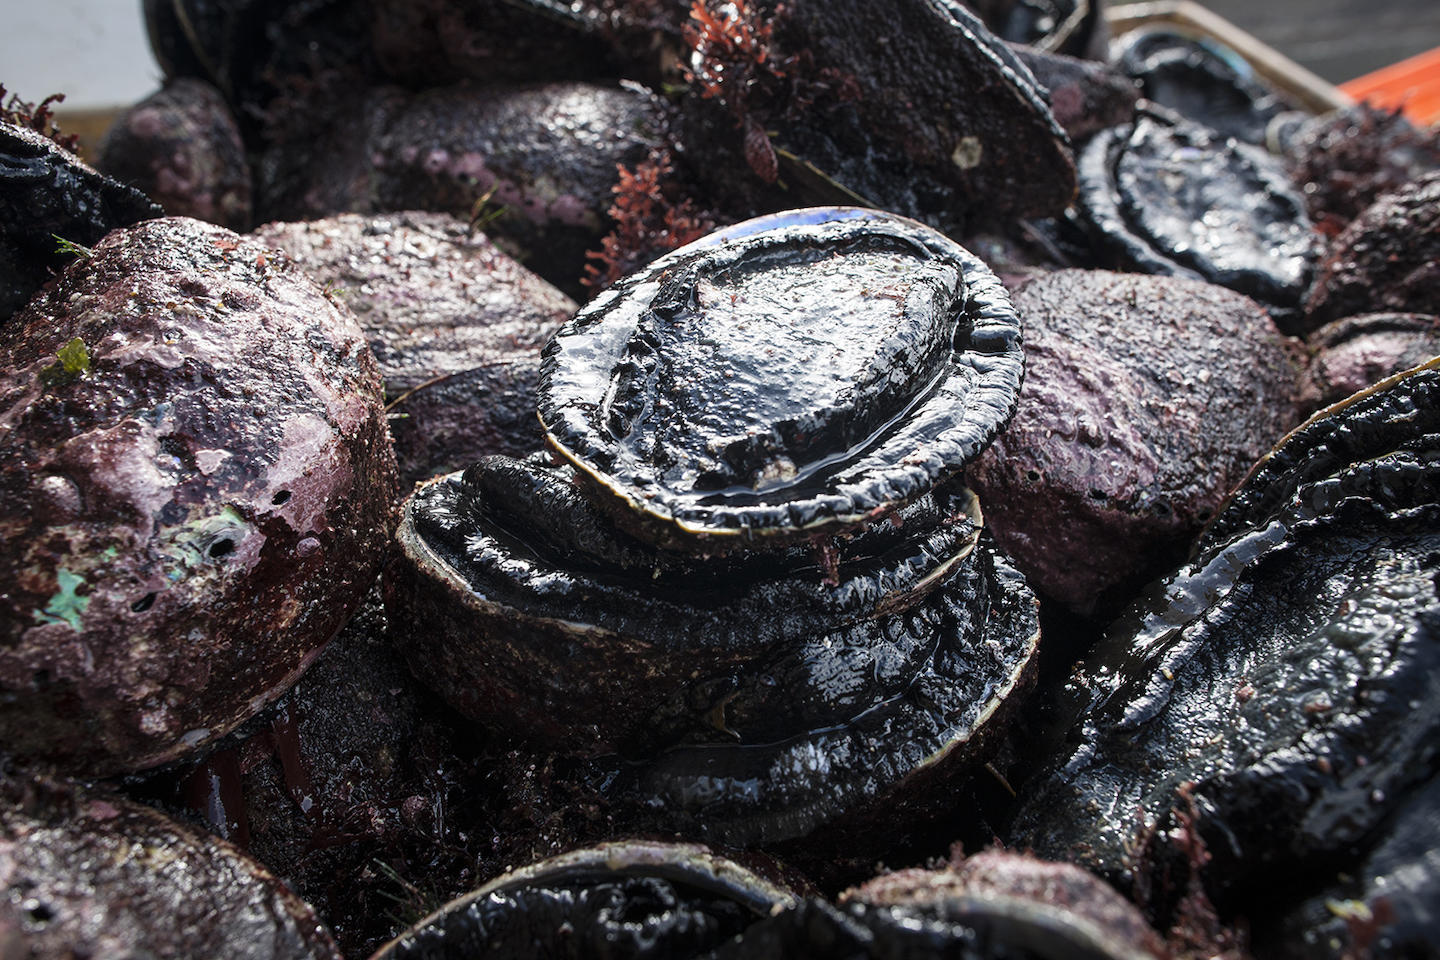
Pāua (the Māori word for abalone) is a popular New Zealand delicacy. The most common way to eat pāua is to have it minced into a fritter. Pāua fritters can be purchased from most "fish and chip" shops around the country. 
Paua
Paua, New Zealand
Pāua are commonly found in shallow coastal waters along rocky shorelines and are a local delicacy

Scallops

A local favorite, scallops are a must to try when in New Zealand. The season for fresh scallops runs from October through to March. If you are in the Coromandel in September you can sample a variety of tasty scallop delicacies at the annual Scallop Festival. 
Fresh New Zealand seafood
Wellington
Fresh New Zealand seafood, Wellington
The season for fresh scallops runs from October through to March.

Bluff Oysters

Large, plump and juicy, New Zealand oysters have earned a reputation as some of the finest in the world. Bluff is the home of oyster production in New Zealand and holds the Bluff Oyster Festival every May. 
Bluff Oysters
Southland
Bluff Oysters, Southland
Oysters, fresh from the farm

Snapper

Snapper, or Tāmure as it is called in Māori, is the most popular fish to eat in New Zealand. It is found throughout New Zealand but is most abundant in the North Island.
Snapper